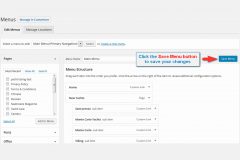
Step For: Create menu
- Log in to WordPress.
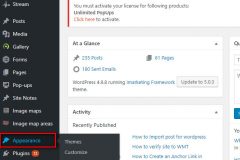
- Go to tab menu on left hand >>Appearance > Menus
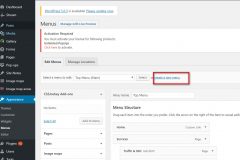
- Click the create a new menu.
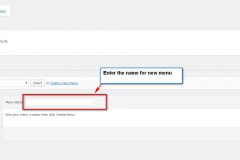
- Enter a name for your new menu in the Menu Name box.
- Click the Create Menu button.
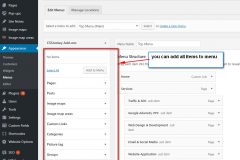
- Add items to a menu. You can add different link types into your menu, these are split between panes left of the menu you’re currently editing.
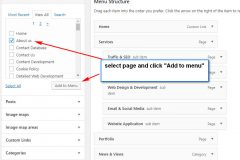
- Select the View All link to bring up a list of all the currently published Pages on your site. And click Add to Menu.
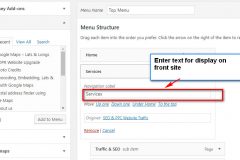
- Enter text for display on front site in Navigation Label.
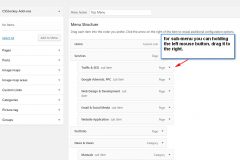
- For sub-menu you can holding the left mouse button, drag it to the right.
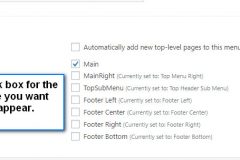
- Scroll to the bottom of the menu editor window. Click the check box for the location where you want your menu to appear.
- Click the Save Menu button once you’ve added all the menu items you want.
Step For: Change menu items
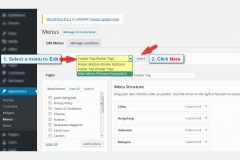
- Select a menu to edit at the top of the page.
- Select the pages to update.
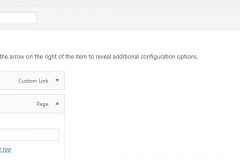
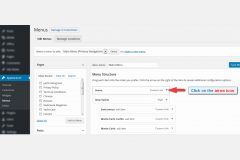
- Click on the arrow icon in the top right-hand corner of the menu.
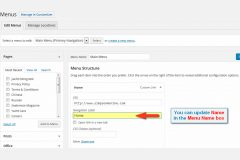
- Update text in the Menu name box
- Click the Save Menu button.


