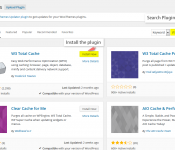
Step 1: Go to your WordPress admin panel and click on Plugins » Add New
Step 2: Search for “W3 Total Cache”
Step 3: You’ll see the W3 Total Cache plugin listed under the “name” column. The description will list the creator as Frederick Townes. This is the plugin that you’ll want to install.
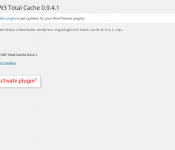
Step 4: Once the plugin has been installed, you’ll need to activate it. Just click the “activate plugin” link to do so.
Configuring W3 Total Cache
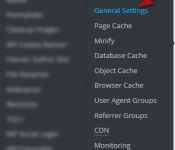
Step 5: Log into your WordPress Admin Panel. Scroll down to the “performance” link on the left-hand sidebar and select “general settings.”
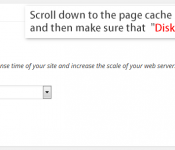
Step 6: Scroll down to the page cache box. Check the box to enable page caching and then make sure that “Disk: Enhanced” is the selected method.
Step 7: Database cache should be disabled, so make sure that the “enable” box is not selected.
Step 8: Check the boxes to enable object and browser caching.
Step 9: Enable CDN, and then select MaxCDN from the drop-down list.


