Google launched a new pay as you go pricing plan for Google Maps, Routes and Places. (June 2018)
Every time you use any google functionality in your website (maps, reviews, directions, routes, places etc) you access a google api.
You are “calling” information, and google is now measuring and charging you for that access.
Costs
WAIT – all is not lost as google has put 2 elements in place that will save your costs
- A threshold below which you will not be charged
- A $200 credit towards your usage.
This means that for the majority of websites they will not be charged. (Google pricing table)
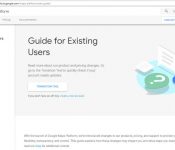
(For significantly more explanation and instructions then read here (Google Cloud Platform instructions)
Actions
In order to implement this we (iMarketing) need to upgrade your code and you need to enter a credit card for the Google Cloud Platform services. This is to enable them to charge you if you exceed the free usage.
If there is no credit card and billing account then your website maps implementation will return an error message.
Please follow these instructions to set up your credit card and billing account:
To avoid a service interruption to your projects, please visit click the link below to enable a billing account and generate an API key.
Once you have generated a secure API key, make sure to update your application with the new API key.
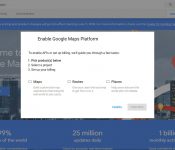
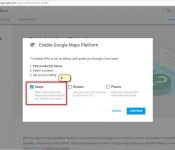
- Go to Google Maps Platform.
- Click GET STARTED.
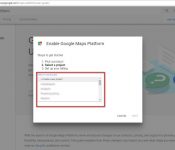
- Select Maps and then click CONTINUE.
- Replace the words “My Project” with your company name and select YES to agree to the Google Terms of Service. Click NEXT.
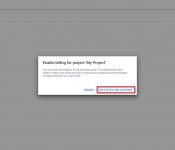
- A pop up screen will appear entitled “Enable billing for project “company name”. Click CREATE BILLING ACCOUNT.
- To create a new billing account:
- Go to the Google “Cloud Platform Console” and sign in or, if you don’t already have an account, sign up.
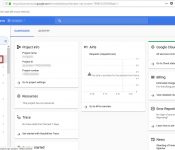
- Open the console left side menu and select “Billing“.
- Click the “New billing account” button. (Note that if this is not your first billing account, first you need to open the billing account list by clicking the name of your existing billing account near the top of the page, and then clicking Manage billing accounts.)
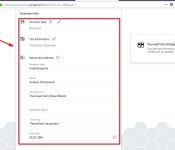
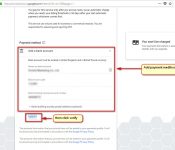
- Full fill all your information and also add “Payment method“.
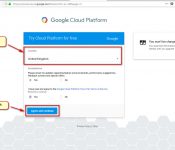
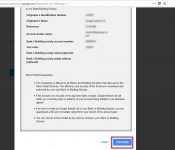
- Then It will show Verify your “Payment information Popup“. Once you click continue it will back to the current page. You will need to click “start my trial“.
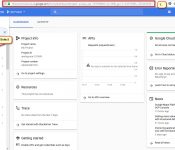
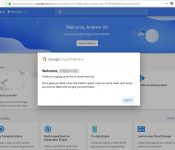
- Once your account has been completed. It will link you to “Google Cloud Platform“
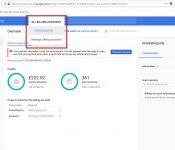
- Please go to “Billing Menu” at the left site. Then Click drop down menu at the “Project name“. Select “Manage Billing Account“
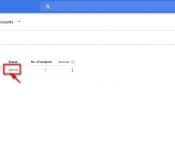
- Once you see the active billing status. Then click on “My projects Tab”
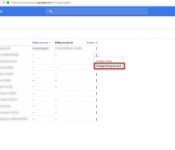
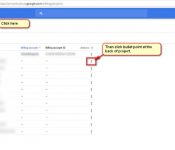
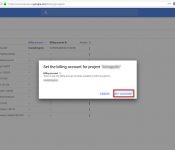
- Select Change billing account.Then click set account. It will automatically connect to the billing account that you created.
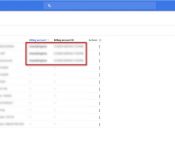
- If you done completely setup billing account. You will see Billing account and Billing account ID show after Project name and Project ID


